Starlink, SpaceX’s revolutionary satellite internet service, offers high-speed, reliable internet access across the globe. To connect to the Starlink network, you only need two essential components: the Starlink router and the satellite dish. This small, white router is the key to connecting your home network to the Starlink satellites above.
In this comprehensive guide, we’ll help you understand the meaning behind the various lights on your Starlink router and provide actionable solutions for common issues.
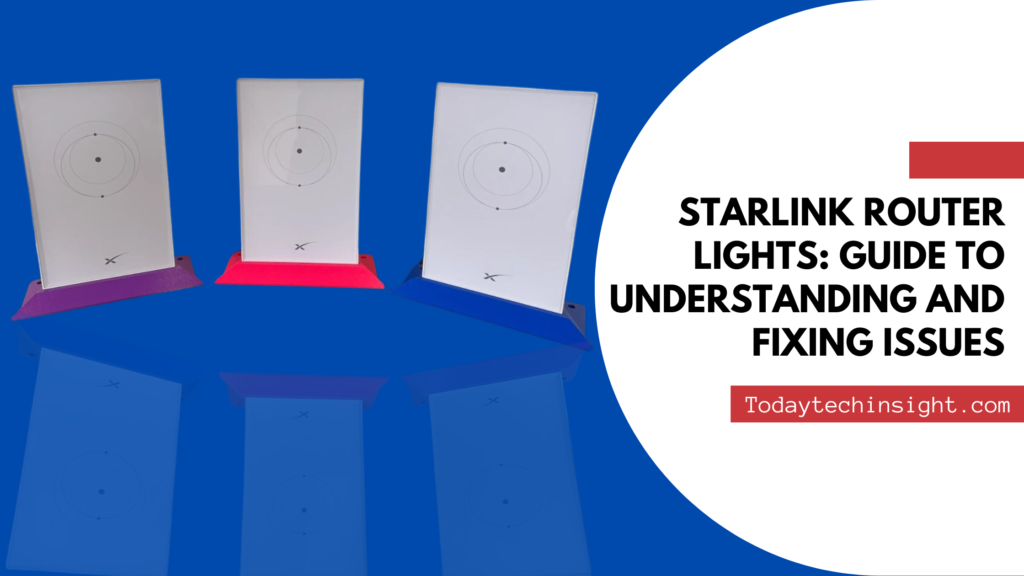
Understanding the Starlink Router Lights
The lights on your Starlink router communicate important information about your internet connection. Here’s what each light indicates and what actions you can take if something goes wrong.
Types of Lights
Your Starlink router features five main lights, each serving a specific purpose:
Power Light: Indicates whether the router is connected to a power source.
LAN Port Lights: Shows the status of wired connections to your router.
WiFi Light: Reflects the status of your wireless network.
Internet Light: Indicates the router’s connection to Starlink satellites.
Service Light: Provides the overall status of your internet connection.
Note, The router includes a reset button for troubleshooting.
Detailed Breakdown of Router Lights
Power Light
White Light: The router is receiving power.
No Light: The router is not powered on.
Solution: Ensure the router is properly plugged in. If the light remains off, try using a different power outlet or check the power cable for damage.
LAN Port Lights
Each Ethernet port on the router has its light:
White Light: A device is connected via Ethernet.
No Light: No device is connected.
Solution: Ensure that the Ethernet cables are securely connected to both the router and the device. If the light is off but the device should be connected, try using a different Ethernet cable.
WiFi Light
This light provides information about your wireless network:
Steady White Light: WiFi is active.
Blinking White Light: WiFi is in the setup process.
No Light: WiFi is turned off.
Solution: If the WiFi light is off, check the router settings to ensure WiFi is enabled. If the light is blinking, wait for the setup process to complete.
Internet Light
This light shows the status of the router’s connection to the satellites:
Steady White Light: Connected to the satellites.
Blinking White Light: Attempting to connect to satellites.
No Light: Not connected to satellites.
Solid White Light: Stable connection with active internet access.
Solution: If the light is blinking or off, check for obstructions between the dish and the sky. Use the Starlink app to identify and address any obstacles.
Service Light
The service light is the key indicator of your overall internet connection:
Steady White Light: You are online.
Blinking White Light: Attempting to connect to the internet.
No Light: No internet connection.
Solution: If the service light is off or blinking, check the Starlink dish’s positioning and ensure there are no obstructions. Restart the router and check the cables. If the issue persists, contact Starlink support.
Common Light Patterns and Their Meanings
Here are some typical light patterns you may encounter:
Power and WiFi lights ON, Service light Blinking: The router is attempting to connect to the internet.
No lights ON: The router is either not receiving power or has a hardware issue.
Power and WiFi lights ON, Service light OFF: The Starlink dish may be obstructed.
Power light ON, Internet light Blinking: The router is searching for satellites.
Starlink Router Generations Explained
Starlink Gen 1 Router
Solid White Light: Stable connection with internet access.
Blinking White Light: Searching for satellites. If no connection is made within 20 minutes, the light will turn red.
Red Light: No satellite connection.
Blue Light: The router is restarting or performing a factory reset.
No Lights: The router has no power or is defective.
Starlink Gen 2 Router
The second generation of Starlink routers features a single light at the bottom:
Power Light ON: The router is powered on.
No Light: The router is off or has no power.
Note: Gen 2 routers provide minimal feedback through lights, with most diagnostic information available via the Starlink app.
Starlink Gen 3 Router
The third generation of Starlink routers reintroduces more lights on the front panel:
Solid White Light: Stable connection with internet access. The light will turn off after an hour but you remain connected.
Blinking White Light: Searching for satellites. After 20 minutes without success, the light will turn red.
Red Light: No satellite connection.
Violet Light: The router is in ‘Bypass Mode’. To exit, perform a factory reset.
No Lights: The router has no power, is off, or is defective.
Troubleshooting Common Issues
If you encounter problems with your Starlink router, try these steps:
Inspect the Dish’s Sky View: Ensure there are no obstructions.
Check Power Cables: Ensure all cables are securely connected.
Reboot the Router: Unplug the router, wait a few minutes, and plug it back in.
Reset the Router: If issues persist, perform a factory reset.
Contact Support: If none of the above steps work, contact Starlink support for further assistance.
Additional Resources
For more detailed information and settings adjustments, download the Starlink app from the Play Store or App Store. You can also access the router’s settings via a web browser by navigating to [http://192.168.100.1](http://192.168.100.1) or [http://dishy.starlink.com](http://dishy.starlink.com).
About More Routers: A Complete Guide to Archer AX50 VPN Client
Conclusion
Understanding the lights on your Starlink router is crucial for maintaining a stable internet connection. By learning the meanings behind these lights and following the troubleshooting steps provided, you can quickly diagnose and resolve issues. This guide aims to empower you with the knowledge needed to get the most out of your Starlink service.


Pingback: Starlink Router Lights (Learn about the all router lights Means)